Spring Fling Macarons - Lemon Macarons Recipes (Macaron Mashup Challenge)
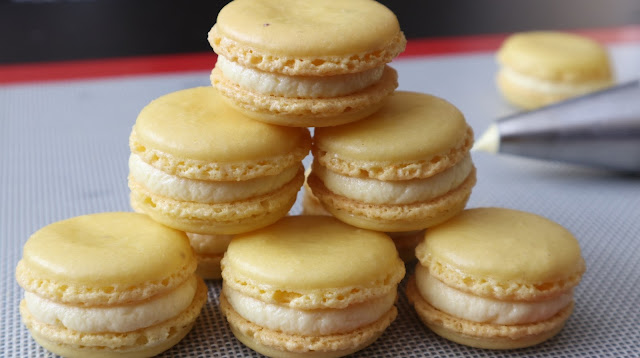 |
| Homemade Lemon Macarons for Macaron Mashup |
So I have put the challenge out there to challenge ourselves to bake more macarons at home. The first theme for the "Macaron Mashup" is Spring Fling. It was super exciting to see people use the #macaronmashup periodically over the past little while. Definitely a community building experience and one that will just continue! I'll do a round-up blog post capturing the #macaronmashup spring fling macarons shortly.
For the theme of Spring Fling, I decided to revisit one of my favourite macarons flavours - Lemon Macarons! Interestingly enough these were one of the first macaron flavours I had made but for some reason I never blogged my recipe!
Here are the ingredients that you need for making these Lemon Macarons. All the ingredients are usually the same, just the colour will change depending on which flavour you choose to do. For these macarons, I decided to try a yellow powder versus the yellow gel colouring that I typically use.
 |
| Ingredients needed for Macaron Making |
Ingredients for Lemon Macarons
- 225g icing sugar
- 125g almond meal
- 5g albumen
- 28g berry sugar (extra fine sugar)
- 100g aged egg whites
- 1/2 tsp yellow powder
*make your own berry sugar by processing regular sugar in the processor until the sugar crystals are fine
*I keep my almond meal in the fridge when I am not using it. The day before/the morning before I bake, I take the almond meal out and let it come to room temperature.
*egg whites need to be aged for 2 days in an airtight container. Keep the egg yolks in the fridge for the buttercream and other creations.
To get started with macaron making, I highly recommend pre-measuring all of your ingredients first. This will make it easier for yourself as you move through all the steps. For equipment/items you will need: a kitchen scale, a food processor will be helpful to grind the almond meal and icing sugar together, a sifter, spatula, hand blender or stand-up blender, piping bag and tip, silicon mats or parchment paper and heavy duty baking sheets.I use a kitchen scale as macarons are somewhat finicky and the ingredients need to be measured by weight. The proportions of each ingredient need to be just right in order to support you in making the best macarons.
Directions for Making Lemon Macarons
- Process the almond meal and icing sugar in a food processor until it is well mixed together. Use a spoon to occasionally move the ingredients around before processing again.
- Sift the icing sugar-almond meal mixture through a sifter to ensure there are no clumps. Place a bowl underneath.
- Measure out 100g of egg whites and place in the bowl of the stand-up mixer with the whisk attachment.
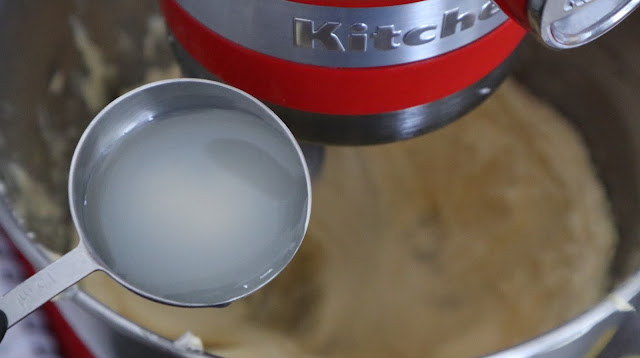
- Slowly whisk at low speed until little bubbles form. Once the bubbles form, add in the mixture of berry sugar and albumen. Then turn the mixer to medium speed (4 on the kitchen aid). Add in the yellow powder.
- Continue to whisk the egg whites until "soft peaks" form. To check, stop and tilt the head of the Kitchen Aid back or stop and lift the tip of the whisk into the mixture to see if a small "bird's peak forms". If you see a peak form, then you are done whisking the egg whites. If it looks drippy/wet as you lift up, keep whisking for a touch longer.
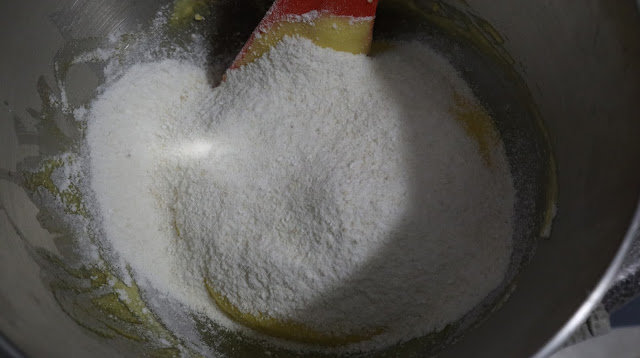
- Slowly incorporate the almond meal sugar mixture by sifting 2 tablespoons at a time into the meringue. Mix in a clockwise direction. This step is probably one of the most crucial steps in making macarons - also known as the macaronage process.
- Mixing in a clockwise direction do the following:1st part= 16 turns
2nd part = 11 turns
3rd part = 14 turns
4th part = 11 turns
5th part = 11 turns
6th part = 23 turns. - Give a few more turns to the batter scooping through it with your spatula. Once the macaron batter feels and looks like magma (flows slowly) you are ready to transfer it to the prepared piping bag. When you transfer the macaron batter to the piping bag you are also "mixing it".
- Pipe out small circles. Hold the piping bag vertically. Pipe straight down and then do a quick circular movement to the right to finish piping one shell. I pipe across the length of my tray. I typically pipe 18-20 macaron shells per tray. How many shells you pipe on a tray will depend on how big you make each shell. Before piping the next sheet, firmly rap the tray on the counter to get rid of any air bubbles inside the shells. This is called "tamping". Use a toothpick to gently poke any bubbles.
Let macarons sit for at least 60 minutes until a skin forms and is dry to the touch (this is an important step).
Continue to pipe the rest of the trays. I typically pipe about 4 trays of macarons with 18-20 macarons on each one. 5 shells on the first row, then 4, then 5, then 4. - Preheat the oven to 280-290F. Allow the oven to come to the correct temperature. This may take 30 minutes. Using an oven thermometer will be helpful. Depending on your oven you may be baking anywhere from 280F to 290F. Bake each tray one at a time for 19-20 minutes. Take the macarons out of oven and allow the shells to cool on their tray before you gently peel them off. Lift under the mat and then push up to gently release each macaron shell.
At this point you can choose to place the macaron shells in an airtight container in the fridge or freezer to be filled with buttercream for another day. Otherwise, continue on with matching shells together in order to fill them with the lemon buttercream.
- 80g berry sugar/superfine sugar
- 25g water
- 1 whole egg (~60g)
- 1 egg yolk
- 160g soft unsalted butter (cut into cubes)
- 1 tsp lemon zest
- 1.5 tablespoons lemon juice
- Bring sugar and water to a boil in a small pot. Heat the sugar to 250F(120C) using a candy thermometer. If it boils, clean the sides of the pan with a damp pastry brush. Try not to mix the solution, but allow the sugar solution to heat on its own.
- In another bowl or the bowl of your stand up mixer whisk the eggs and egg yolks until it lightens in colour.
- Once the hot sugar mixture reaches 250F slow down the whisking speed of the eggs, and immediately pour the hot sugar mixture into the egg mixture (do this part quickly). Increase to a higher whisking speed (8 on my KitchenAid). Continue whisking until the mixture has cooled down completely (approximately 15 minutes). It will look glossy, white and meringue like.
- Keep whisking the meringue until it has cooled (10-15 minutes). Meanwhile in a separate bowl, whisk the butter until it has thickened. It will lighten a bit in colour. Once the meringue has cooled (temperature drops down to 50F), slowly add in the whisked butter a tablespoon at a time. Continue whisking until the buttercream is smooth.
- Add in the lemon juice and zest to the buttercream.
- Once the lemon juice and zest has incorporated into the butter mixture, smooth out the buttercream with a turns of the spatula. Then transfer the lemon buttercream to a piping bag fitted with a tip.
- Set up your macaron shells so that each shell has a partner shell that matches it in size. Pipe a a small mound of lemon buttercream into the middle of each bottom shell.
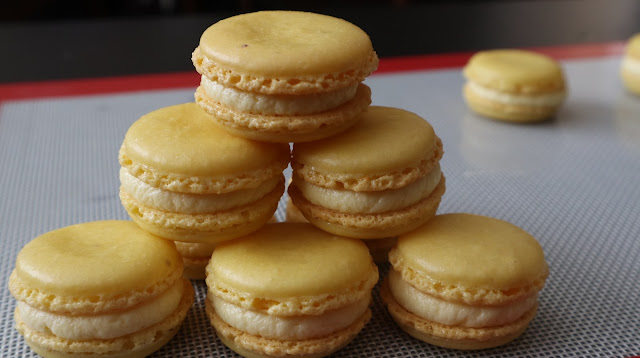
- Assemble the macarons by placing the tops on the macaron and gently push together until the buttercream mound flattens. Store the macarons in an airtight container in the fridge for 2 days. 2 hours before serving, bring them out of the fridge as they are best enjoyed at room temperature.
I hope you enjoyed these #springfling #macaronmashup Macarons that I did! Read more about the new initiative I have about the "Macaron Mashup" or head over to my Macaron Recipe List for more Macaron ideas! If you have ideas for future Macaron themes post them in the comments below! You don't have to participate to give ideas.








I've always wanted to make my own macarons, but have been intimidated by the process. Thanks for breaking it down like this. The step photos are super helpful!
ReplyDeleteFantastic breakdown of a rather complicated process! Always wonderful to have resources like this. I haven't tried macarons myself yet but this makes me curious - most of my insanely involved cooking challenges are savoury, but good macarons are just so incredible!!
ReplyDeleteYou had me at macaroon & then you bring in the lemon flavour! Double dose of the perfect dessert. These are simply adorable.
ReplyDeleteI love, love, love Macarons, but the whole process is still daunting no matter how well it is explained. I guess I am simply ever-confirming I am far more a cook than a baker. All that precision makes me uneasy! But I will happily sample and comment till the cows come home!
ReplyDeleteI've seen you making them and I tasted them, and I am always impressed :-) . I don't know if I'll ever try making macarons. Maybe once we can just make them together so I'll stop being so intimidated ;-) . Great explanations, though, Lillian! And, of course, beautiful looking macarons!
ReplyDeleteonce again I will encourage you to make some!! you have now done a class with me and one with duchess! time to make some! You won't know until you just do it!! :D
ReplyDeleteooh there's also the italian style method of macarons!! you might like that method??
You should totally just give it a go!! You seriously never know until you try! :)
ReplyDeletethank you!! You should join us for the macaron mashup challenges!
ReplyDeleteYes! come join us for the macaron mash-up challenges! they next theme is ALOHA! no experience necessary! Just try it! I'll be around to help guide you along!
ReplyDeleteThanks Sean! you could always make savoury macarons? :D
ReplyDelete