Small Batch DIY Homemade Kimchi Recipe
It seems that I have fallen in love with having kimchi in our fridge. There are so many uses for kimchi including as a side to your main course, on noodles or kimchi fried rice of course! As time has progressed, I decided that I really wanted to make my own kimchi. When I asked the Korean ladies at church, all of their recipes were designed to make huge amounts (tubs!) of kimchi. After some tweaking and testing, this is the recipe that I currently love making at home; mainly because I can make a manageable amount of kimchi (1L) that doesn't threaten to take over the entire fridge!
I enjoy having kimchi with a kick of spice followed by a touch of sweetness. To do this, I put cubes of daikon into the kimchi. You can also choose to skip this part but trust me, it just adds a little extra to your kimchi!
Small Batch DIY Homemade Kimchi Ingredients
amount - 650g napa cabbage + half a daikon = 1 L kimchi OR 800g napa cabbage = 1 L
- 650g napa cabbage - washed & cut
- half a daikon cubed
- 1.5 tablespoons of coarse salt
- 1 tablespoon sugar
- 1 carrot
- 1 bundle green onions (or less depending on preference)
Kimchi Slurry ingredients
- 7 cloves of garlic
- 1.5 inches of ginger
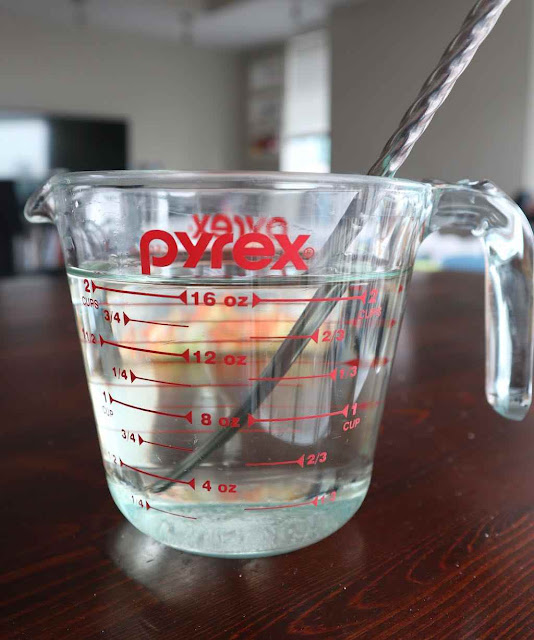
- 1/2 cup of simple syrup
- 3 tablespoons soy sauce
- 3/4 cup water
- 3/4 cup ground red pepper
- 3.5 tablespoons fish sauce

Small Batch DIY Homemade Kimchi Directions
- Wash and drain napa cabbage Cut into smaller 1 inch (3 - 4 cm) squares.
- Fill a large container with the washed napa cabbage ( I use a wide plastic one from the Dollar store).
- Sprinkle 1.5 tablespoons of coarse salt and 1 tablespoon of sugar over the napa cabbage. Massage the salt and sugar over all the cabbage. Pop the cover on and leave in fridge for a day.
- Make the kimchi slurry by blending up garlic, ginger, simple syrup, water, soy sauce, chili flakes and fish sauce in a food processor or vitamix. Transfer to an air tight jar.
*This can be made the day before or the day you mix the kimchi together. - The next day, drain out all the water from the cabbage.
- Wash and sanitize a 1L mason jar.
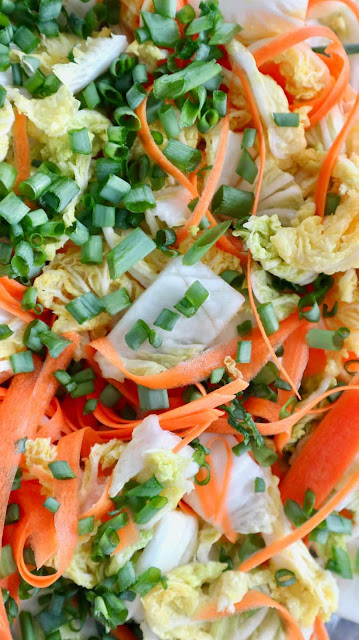
- Place the tub containing the napa cabbage in the sink (this will make clean-up after easier) After peeling the top layer of the carrot, use the same peeler to make thin slices of carrot and put these slices into the tub with the napa cabbage.
- Add chopped green onion.
- Add cubed daikon.
- Add about 4 -6 big tablespoons of the kimchi slurry onto the cabbage mix. It depends on how much cabbage you have and how strong of a flavour you want.
- Mix the kimchi slurry into the cabbage until everything is well coated. I use gloves to keep my hands from being stained red.
- Fill mason jar with the kimchi. Jam everything in as much as possible; so that there are no air pockets!
- Place your bottled kimchi in a large ziplock bag in the fridge. This will help prevent any of the flavours from getting into the rest of the food in the fridge. Every few days "burp" (open the jar) to allow any gas from the fermenting kimchi to be released. Allow your kimchi to ferment for about a week for best tasting results!
Some people say that you only need to ferment for 1 day, or until it starts "burping". I prefer to have my kimchi more fermented but you should try for yourself and taste test along the way. The fermenting gases will continually build up so remember to release the gas. Otherwise, the kimchi will be very fizzy tasting. I find the amount of kimchi perfect for Dan and I as it takes about a month to finish one of these jars. Enjoy your kimchi!


Currently in the process of making this! Can't wait to see how it turns out. 2 questions... How long can you store the remaining slurry? After soaking/draining the cabbage in brine, do you rinse it with fresh water?
ReplyDeleteYou can store it for a while but you pretty much use all of the slurry! Sometimes if I have more I'll just cut up more daikon to make a kimchi daikon,
ReplyDeleteNo need to re rinse the cabbage after it has been brined. Like the instructions say just drain and start your layering.
Thanks for this recipe. Homemade kimchi is fun to make, able to be tweaked to personal flavor profile or desire & pretty exciting if one is creative & adventurous. On my 2nd homemade batch this weekend. Very excited about it. Thanks again!🎉
ReplyDelete