Homemade Earl Grey Macarons - Round 2

I was looking through some of my previous macaron recipes on the blog and by far my Earl Grey Macaron Recipe is one of the most popular recipes here on the blog. I also get the most number of orders for this flavour as well as requests from family and friends to bring Earl Grey Macarons for dessert. So, I thought I should do an update on this Earl Grey Macaron recipe as it has been almost 2 years since I first blogged the first one.

The changes aren't huge, just tiny aspects of my recipe that I have tweaked as I bake this particular flavour more often. One difference is that when I first blogged this Earl Grey Macaron recipe Dan and I had just moved and hence the oven was still fairly new to me. At the time, I was not nearly adventurous as I am now about making changes to my macaron recipe; especially baking times and temperatures! Since as the old saying goes, "If it ain't broke, don't fix it!" I finally got tired of how long the macarons were taking to bake so decided to risk it and make some changes. I would say the results are fantastic! So, here is the recipe I'm currently using. I'll show you the steps as we go along for you to make the most successful earl grey macarons at home.
Earl Grey Macaron Shells (30-40 macarons or 80 shells depending on size)
Ingredients
- 100g Aged Egg Whites (2-3 days in an airtight container at room temperature.)
- 225g Powdered Sugar (icing sugar)
- 125g Almond Meal
- 5g Dehydrated Egg White Powder (Also known as albumen)
- 28g Extra Fine Sugar (I often make my own by processing granulated sugar in the food processor.)
- Blue Gel food colouring (Using gel food colouring is better as it does not add any extra liquid to the macarons.)
Directions for Earl Grey Macaron Shells
- Measure all your ingredients with a scale. This is important as macarons need the correct ratios for them to turn out.

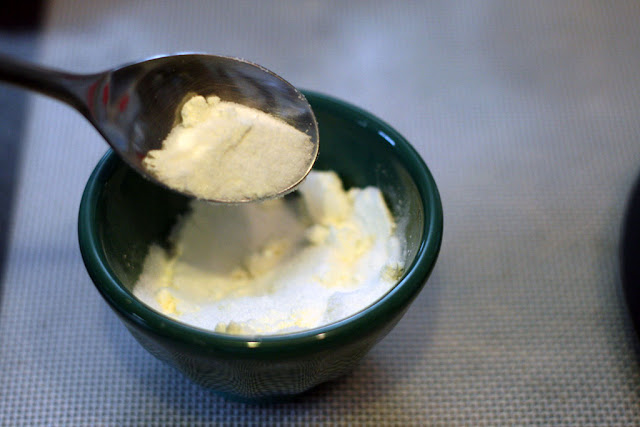
- Mix the albumen and extra fine sugar together in a bowl and set aside.
- Process the almond meal and icing sugar together in a food processor, then sift into a bowl. Try to ensure that most of the almond meal is ground up and there are no large chunks. The finer you grind the almond meal and icing sugar; the smoother the tops of your macaron shells.

- Place the whisk attachment onto a stand-up mixer. Place the pre-measured egg whites into the stand and start whisking at a low speed (2 on my Kitchen Aid mixer).

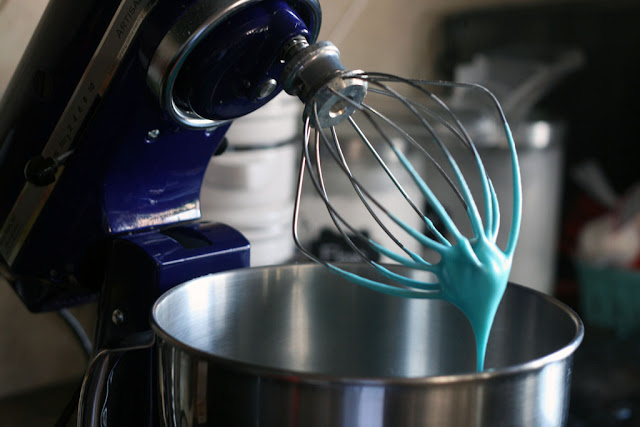
- Once the egg whites are foamy looking (mousse-like) add in the albumen and granulated sugar mixer. Whisk on low speed until just incorporated. Then, using a toothpick add 2 drops of food colouring into the mixture (I am using the Teal coloured Wilton gel).

- Increase the speed of the whisk (4 on my Kitchen Aid), and whisk the egg whites until "soft peaks" form. To test if the meringue is at the correct stage, do a quick check by stopping the mixer and checking the firmness of the peak. There should be a small peak that forms at the end of the whisk. Ensure that the meringue is not too stiff or too foamy. It usually takes about 2 minutes to reach this stage called the "meringue" stage of macaron making. (Video of whipping the egg whites here).
- Take the mixing bowl off the stand-up mixer. Taking 2 tablespoons at a time, slowly sift the almond meal sugar mixture into the meringue. I have found sifting helps prevent any clumps from forming in the macaron batter. I do find that mixing in a clock-wise manner with a certain number of turns each time helps to make the best macaron shells. The batter should look and feel like magma (flows slowly). This step is known as the macaronage process. Take a look at my macaronage video for help.
 Beyond Umami's Macaronage Mixing Guide1st part = 16 turns2nd part = 11 turns3rd part = 14 turns4th part = 11 turns5th part = 11 turns6th part = 23 turns
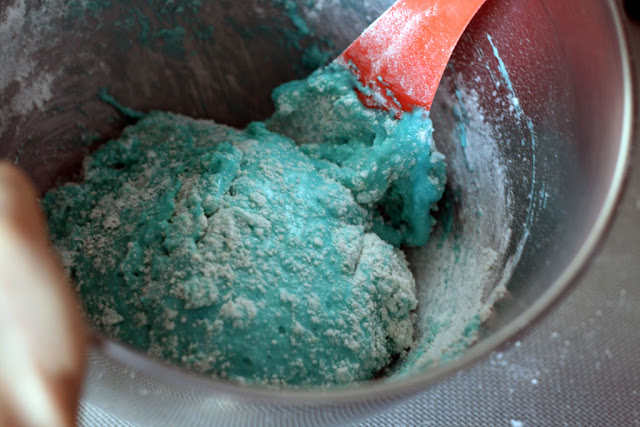
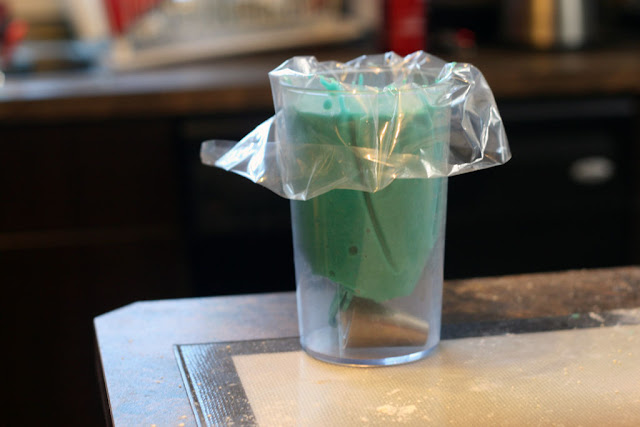
- Set up a piping bag into a tall upright container. This will help you transfer the macaron batter into the piping bag easier.
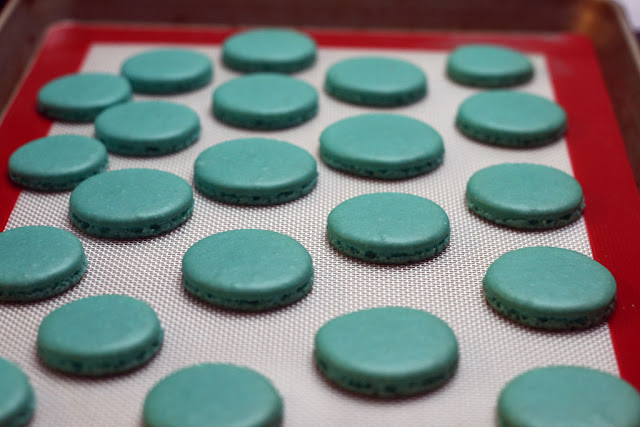
- Prepare for the piping of the macaron shells by lining either silicon mats or parchment paper onto thicker baking sheets. Thicker baking sheets will help prevent the macaron shells from rising too quickly. Pipe down into the tray and then a quick twist to the right to finish piping a macaron shell. I usually pipe 20-30 macaron shells (depending on size) per baking sheet. Firmly rap the tray on the counter to get rid of any bubbles in the shells. Then, use a toothpick to pop any air bubbles on the surface of the shells.
- Allow the macaron shells to rest for 60 minutes until a skin forms on the top of the shell. This is a change from my previous recipe as I have found that resting the shells for at least 60 minutes or more helps make the shells stronger (resting times may change depending on humidity; longer for more humid environments). Bake the macarons at 280F for 19 minutes (I am not turning the trays in the oven as I did previously. Only turn if you find that the macarons are not baking evenly).
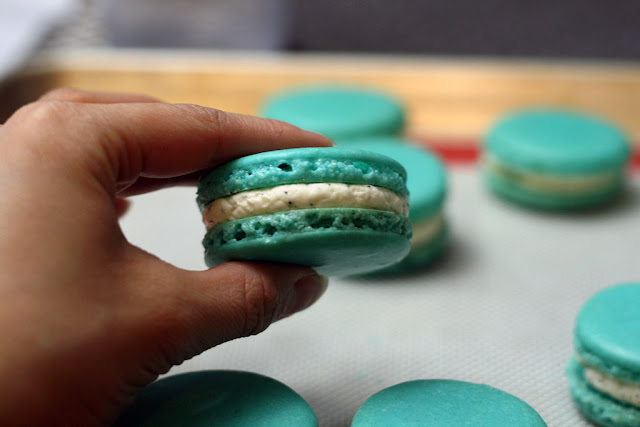
- Make the earl grey buttercream following my Earl Grey Buttercream Recipe. Video clip of what the buttercream looks like on instagram.

- Match macaron shells and then fill the Earl Grey Macarons! Macarons need to rest 2 days in the fridge before eating. Let them come to room temperature before serving.


If you are looking for more tutorials for making macarons on my blog check out the following:
Of course, sometimes Macaron Baking just doesn't go right! It happens to me too! Read my Macawrong-When Macaron Baking Doesn't Go Right for more tips and tricks of why those mistakes occur!

Comments
Post a Comment
I love when my friends and readers post comments. If you do try a recipe, let me know! I would love to hear from you! You can also contact me through twitter or Facebook.
Your comment will be visible after I have the chance to see it (due to the amount of spam).