Fluffy Layered Green Onion Cakes (Scallion Pancakes, Green Onion pancakes)
Green Onion Cakes (Scallion Cakes)
I will be the first to say that green onion cakes or green onion pancakes were never really on my radar throughout childhood or adulthood to say the least. However in recent months; most likely with me making my own kimchi I began to see green onions in a different light. The taste also began to grow on me. So after a few trials here is my recipe for green onion cakes.

Ingredients for Green Onion Cakes
makes 8 green onion cakes
- 3 cups all purpose flour
- 1 cup hot water
- 3/4 cup cold water
- 1 tsp salt
- 2 cups (2-3 bundles) finely diced green onions (scallions)
- 8 tsp sesame oil (1 tsp per green onion cake)
- extra salt (to taste)
- 1/4 tbsp canola oil (for cooking each green onion cake)
- additional flour for rolling and kneading
*bundle of green onion is the entire bundle comprised of 4-5 stalks of green onion
Dipping Sauce (mix the following together):
- 1/4 cup soy sauce
- 1/2 tablespoon rice vinegar
- 1/2 tablespoon sesame oil
- 1/2 tablespoon chili garlic sauce (add more if you like the heat)
- 2-3 green onions (scallions) thinly sliced
Directions
- Combine flour and salt in a bowl. Add in hot water until clumps form as you gently stir with a spatula.
- Then, add in the cold water and stir until just combined.
- Knead the dough gently on a clean floured surface. Form the dough into a ball. Then wrap up the ball of dough and let it rest for 1 hour in an airtight location (I put mine in the microwave).
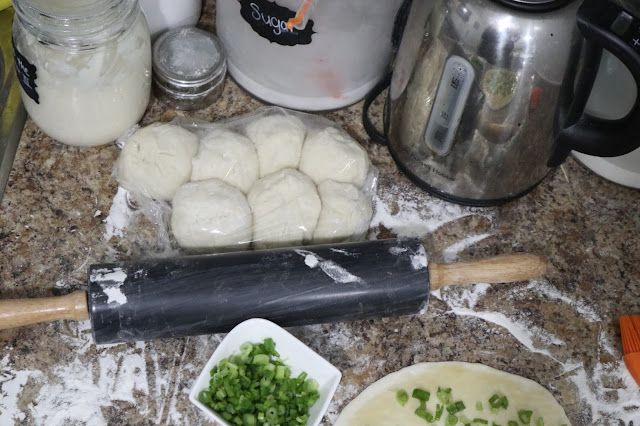
- After 1 hour, divide the dough into 8 equal pieces. Place a piece of plastic wrap on top to prevent the dough from drying out while you roll out the green onion cakes.
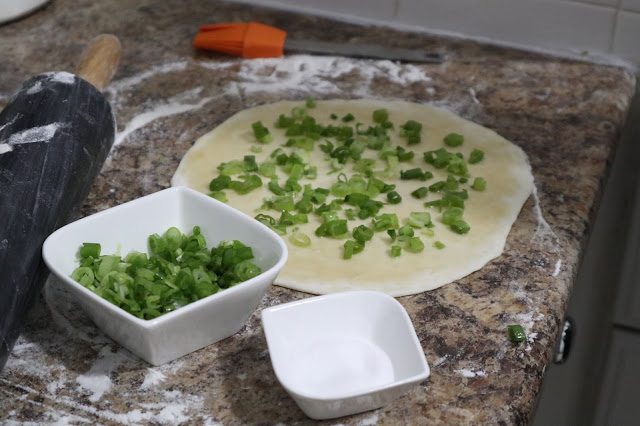
- With a rolling pin, roll out the piece of dough to 8 inches in diameter on a lightly floured surface. Spread 1 tsp of sesame oil onto the surface of the dough.
- Sprinkle 1/4 cup of chopped green onion onto the surface. Add an additional pinch of salt (sprinkled) on top before rolling.
- Roll the dough up lengthwise.
- Ensure that the seam is at the bottom. Starting from one end, roll it up from one side until it becomes a tight ball. Tuck the end piece into the back of the ball. Squeeze the end slightly into the rest of the ball.
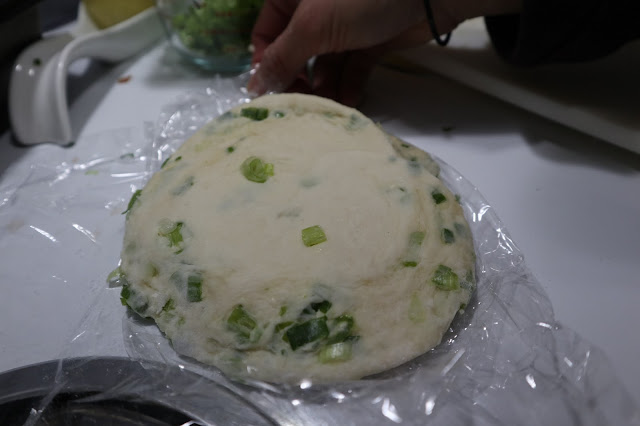
- Using your rolling pin, flatten the green onion cake until it is 4.5 inches in diameter. As you roll, some green onion pieces may fall out. Gently place it back on top and continue to roll. Sprinkle flour on top of the cake and on the rolling pin to prevent the dough from sticking.
- Finish rolling out the rest of the green onion cakes. Place plastic wrap or parchment paper between the layers of the green onion cakes to keep them from drying out and sticking to one another.
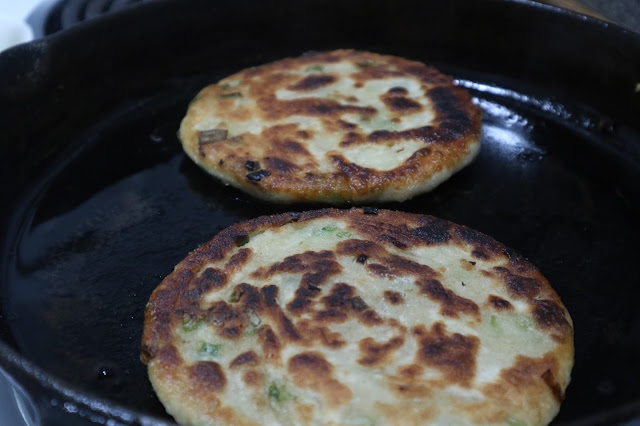
- Using 1/4 tbsp of canola oil for cooking (each time), cook each green onion cake for 2 minutes each side or until it reaches a golden brown colour on each side. Feel free to use a cast iron pan, non-stick or stainless steel pan.
The finished green onion cakes The layers of the green onion cake








Hi Jo! I was just re-reading my notes again and am thinking that 3/4 of a tsp each time per spreading of the sesame oil is better for each green onion cake. You can adjust as needed but I do find that there is that fine balance of having too much sesame oil and then it makes it hard to roll out.
ReplyDeleteI'm printing this out to try this weekend. I already have all the ingredients. I'm excited now - this recipe looks amazing! They look so crispy and chewy at the same time.
ReplyDeleteI love the idea of making this recipe, Lillian. It was fun to see the step by step. We are quite fond of savory foods and look forward to making your recipe for Fluffy Layered Green Onion Cakes. Thank you for sharing! 😊
ReplyDeleteI'm a big fan of green onion cakes, but very rarely eat them. Really love your step by step photos for all us visual folks out there. Thanks for sharing your recipe and let us all inside your kitchen. :)
ReplyDeleteGreen onion pancakes are hands-down my absolute favourite dim sum dish. I've tried them at home a couple of times, but I can't ever seem to get them to come out this flaky and crispy... must try out your technique to see if I can finally achieve perfection at home! :)
ReplyDeleteI hope you made them!!
ReplyDeletethanks! I hope you made them in the end!
ReplyDeleteI just made them again today! Turned out great. Hope you were able to make them recently! :)
ReplyDelete