Poached Eggs from the Dirty Apron Cookbook
Over the past 3 years Dan and I have been part of the University of Alberta Heritage Chicken Program. As a result, we have a continual supply of gorgeous heritage eggs every two weeks. Before participating in the Heritage Chicken Egg program I was never a huge fan of eggs unless they were scrambled, in an omelette or used in baking. In fact, my point of contention of eggs was that I really disliked runny eggs; especially sunny side eggs or poached eggs. However, when we started the Heritage Egg program, I discovered that sunny side heritage eggs could be really tasty, so much so that it is the go-to method for cooking our heritage eggs. I've always wanted to try different methods for cooking eggs and was excited to try a poached egg recipe from The Dirty Apron cookbook. If you haven't heard of the Dirty Apron, this cookbook is a collection of the most popular recipes from Vancouver's Dirty Apron's cooking school's and delicatessen.

The directions for the recipe, same as the rest of the cookbook were easy to follow. The recipe I followed is part of the Poached Eggs on Herb Potato Rosti from page 25 of the cookbook. I just focused on making a poached egg.

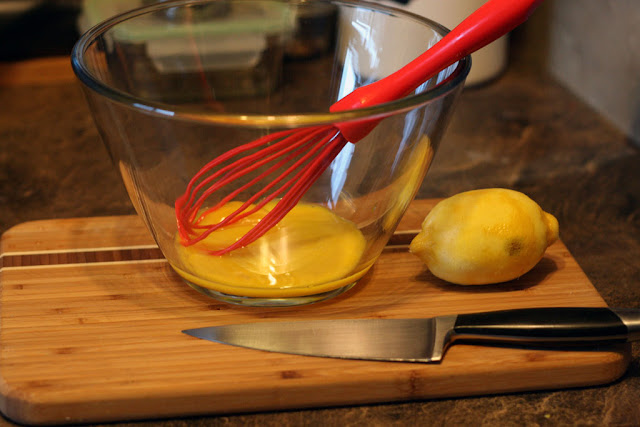
The first thing to do is to boil water with a bit of vinegar. While waiting for the water boil, I started making the hollandaise sauce. I have heard how difficult a hollandaise sauce can be because it can quickly turn lumpy, gritty or be bad tasting. Before juicing the lemon, I melted some butter and olive oil in a pot and set it aside to cool. The instructions emphasized that it was important to continually whisk while pouring in the lemon juice and then the cooled down melted butter and oil. Slowly adding the lemon juice while whisking helps incorporate an acid to provide taste to the sauce. Adding the melted butter-olive oil mixture slowly adds fat and also helps to temper the egg yolk so you don't end up cooking your egg (hence why it is so important to whisk consistently throughout this process).
For the poached egg, wait until the boiling water (with about 2 tablespoons of water) is just about boiled. Gently swirl the hot water, and then slowly added a cracked egg from a bowl into the gentle simmering water.

Swirling the water helps to create a pocket for the egg so that the egg white and yolk stays together. The poached egg is done when the egg white is opaque but the inside yolk is still soft. This should take 3-4 minutes.


Overall, making poached eggs was way easier than I had thought. It is really important to watch your pot especially if you are wanting to have soft poached eggs. As well, the hollandaise sauce recipe was perfectly easy to follow. Just be sure to wait for the butter and olive oil to come to room temperature before adding it to the egg yolks along with the lemon juice. I guess it all boils down to timing!
I did manage to get some practice with the poached eggs as on this particular night as Chris (my brother in law) was over for dinner, along with Dan and myself.
Also, if you are interested in more information about our initial experience with the University of Alberta Heritage Chicken Program go to this blog post.
Thanks again to Raincoast Books for providing me with a copy to review. While I was given a copy to review, there was no obligation for me to write a blog post. All opinions and pictures are solely mine.
Thanks again to Raincoast Books for providing me with a copy to review. While I was given a copy to review, there was no obligation for me to write a blog post. All opinions and pictures are solely mine.


Comments
Post a Comment
I love when my friends and readers post comments. If you do try a recipe, let me know! I would love to hear from you! You can also contact me through twitter or Facebook.
Your comment will be visible after I have the chance to see it (due to the amount of spam).