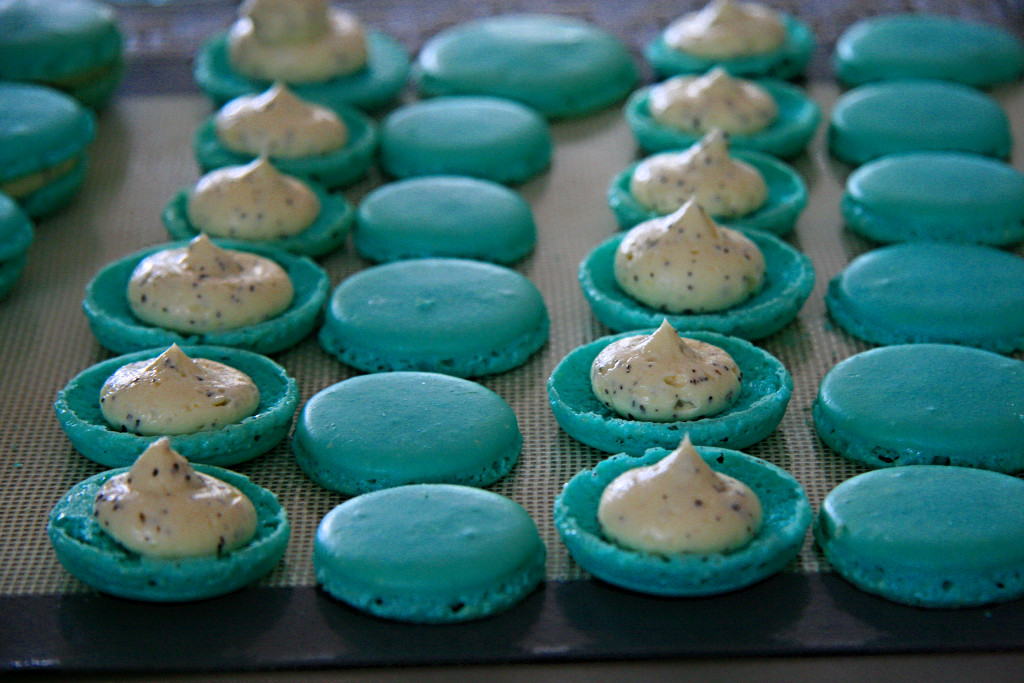
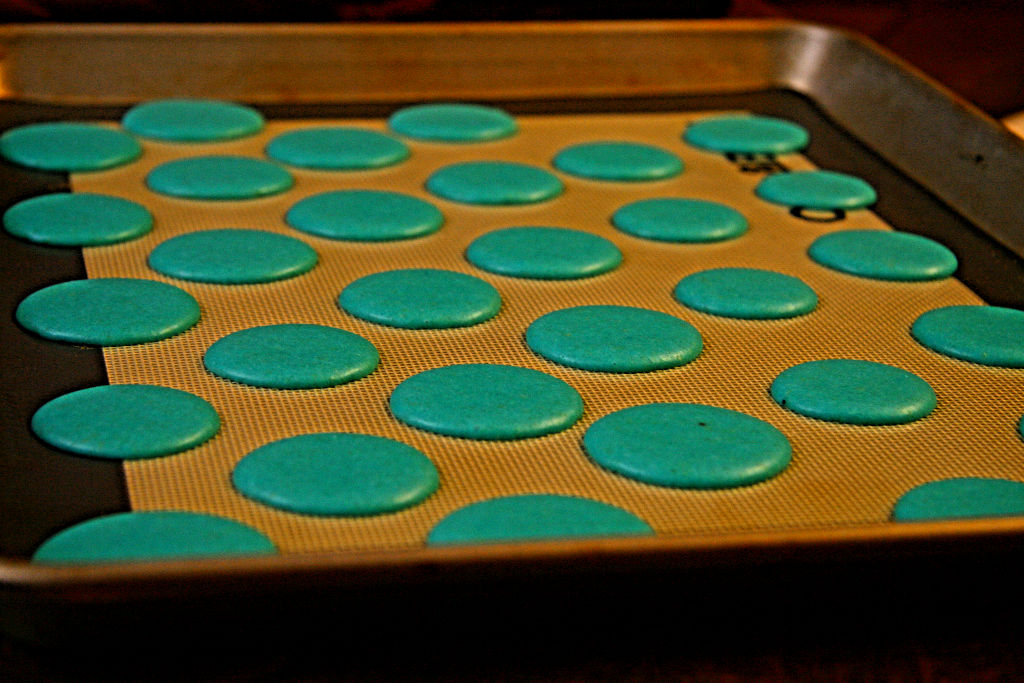
Finished Macarons, after some experimentation.As you can see, too hot of an oven can create macs with concave bottoms.
Thanks again everyone for participating in my Macaron
Giveaway! For those of you who want to try making Earl Grey
Macarons, this step by step blog post is for you! Before we start,
here is a list of kitchen items you will need for the best chance of
success with making those macarons:
-
a scale (crucial for measuring to
the exact gram or oz!) -
fine mesh sifter (I picked mine up
from the dollar store) -
food processor (try to find one
that will last. I went through 3 of them in the past year) -
Kitchen Aid (or similar), a hand
mixer can also do the trick -
piping bag and large round tip
-
Parchment paper or Silicon Mats
(mine are from Crate & Barrel & Silpat) -
gel food colouring (I am currently
using the Wilton brand) -
thicker baking trays (this helps
prevents the macaron shells from getting too much heat) - toothpicks
Ingredients for the Macaron Shells:
100g of Aged Egg Whites (2-3 days in airtight container at
room temperature)
225g of Powdered Sugar (also known as icing sugar)
125g of Almond Meal
5g of Dehydrated Egg White Powder (also known as albumen)
28g of Granulated Sugar
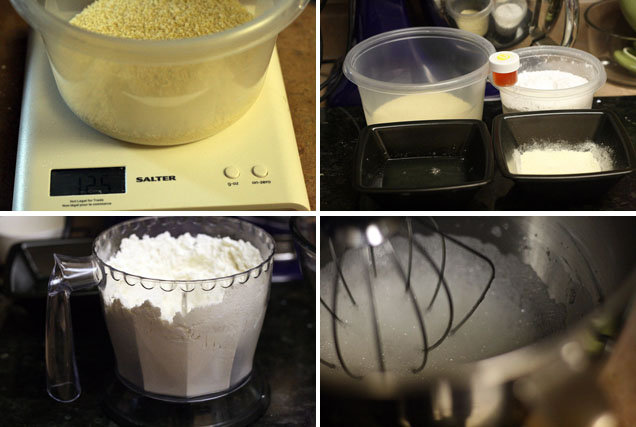
French Meringue Method for Macaron Shells:
1.
Measure all ingredients with a scale.
2. Process almond meal
and icing sugar in the food processor.
3. Sift the blended
almond meal and powdered sugar through a fine mesh.
4. Start
beating egg whites at low speed (2 on my Kitchen Aid).
5. When
egg whites are foamy (mousse-like) add in the dehydrated egg white
powder (albumen) and granulated sugar mixture.
6. Choose the
colour you want for your Earl Grey macarons. I used a blue gel food
colouring for these shells (Wilton Sky Blue). Don’t be afraid to make
the macarons a shade darker as the colour will lighten in the
oven.
7. Increase speed on Kitchen Aid to 4. Beat egg whites
until “soft peaks” form (stop, and tilt head back, look to
see if egg whites form a small bird’s beak). Do a check by stopping
the mixer and tilting the head back to check the firmness of the
peak. If a peak stays up, then you are done. Ensure that they are not
stiff or foamy since that means you have gone too far! You have now
made the “meringue”.
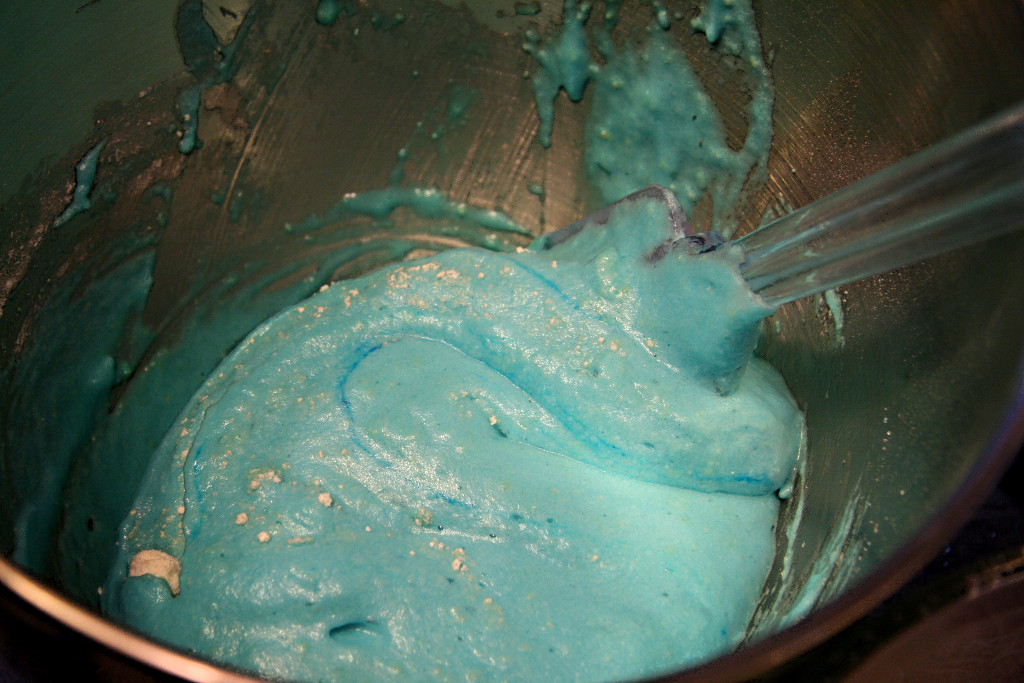
8. Slowly add the blended almond meal-powdered sugar mixture 2
tablespoons at a time to the meringue you have created. Try using Chef Nini’s
method.
9. Mixing in a clockwise rotation seems best. The process
that she describes is slowly adding your almond mixture into the egg
whites in a clockwise direction. She also split her almond mixture
into 6 parts. Mixing in a clockwise direction do the following:
1st
part= 16 turns
2nd part = 11 turns
3rd part = 14 turns
4th
part = 11 turns
5th part = 11 turns
6th part = 23 turns. Take a
look at the video for a more detailed visual.
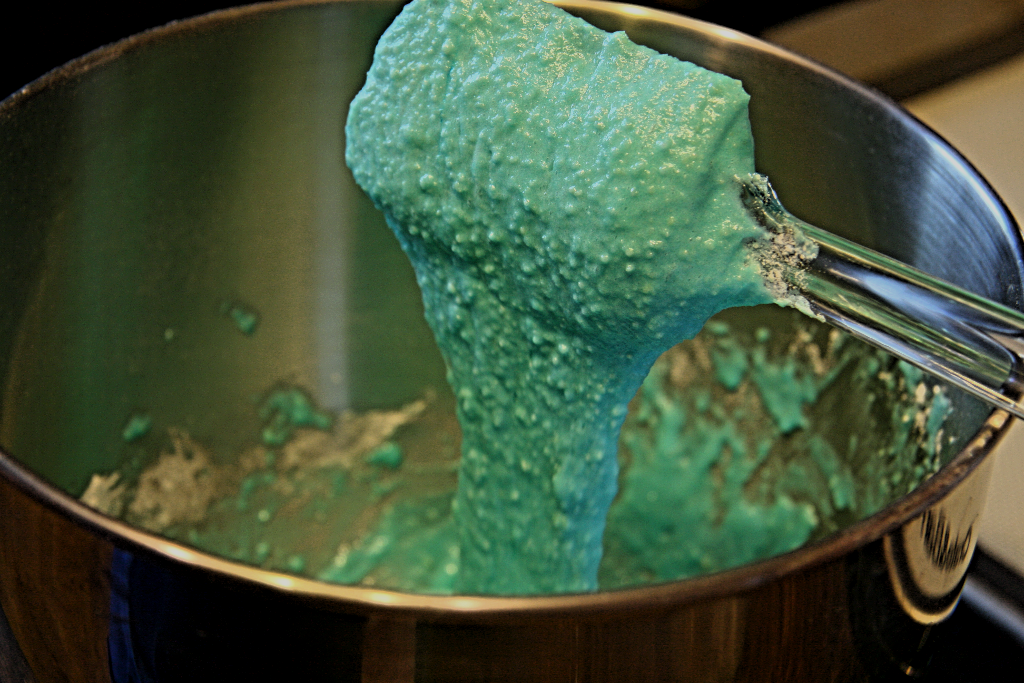
10. Once the mixture feels and looks like magma (flows slowly – as
pictured above) transfer it to a piping bag.
11. Pipe out
small circles. I tend to pipe down and then do a quick circular
movement to the right to finish piping one shell.
12. Pipe
approximately 30 shells on each tray. Before piping the next sheet,
firmly rap tray on floor or counter to get rid of any air bubbles
inside the shells. This is called “tamping”.
13.
Use a toothpick to pop air bubbles on shells (this part is essential
otherwise you get volcanoes instead of smooth macaron shells)
14.
Let macarons sit for at least 30-45 minutes until a skin forms and is
dry to the touch (this is also an important step)
15. Preheat
oven to 250-295 degrees Fahrenheit.
If baking at 295F put one
tray in the oven and bake for 8 minutes, then rotate tray (by now the
feet should have formed!) and bake for another 11 minutes.
If
baking at 250F (which I’ve been doing since we moved), bake the
shells for 20-30 minutes before rotating the pan and baking for
another 10 minutes. This allows for the shells to rise slowly enough
to form a firm crust and the sought after pied (feet)
16. Take
out of oven, allow macarons to cool.
17. Peel from
silpat/silicon mat, and get ready to fill with your
buttercream.
Note: Everyone’s oven is different! I highly
encourage you to experiment and bake some test batches and take
notes. I use a table to help me with the headings: Resting Time,
Temperature In, Bake Time and Results. For instance, when I used to
live on the 10th floor of a south facing building I was resting my
macarons for 30 minutes and then baking them at 295F for 8 minutes,
rotate and then another 11 minutes. Now that we have moved and have a
different oven I am baking my macarons at a lower temperature of 250F
(which really measures at 275F) for 20 minutes, rotating and then
another 10 minutes.
Earl Grey Buttercream (based on Pierre Herme’s method)
80g
caster sugar (superfine sugar)
25g water
1 whole egg (~60g)
1
egg yolk
160g soft unsalted butter (cut into cubes)
One bag of double
bergamot (Earl Grey) tea
Directions:
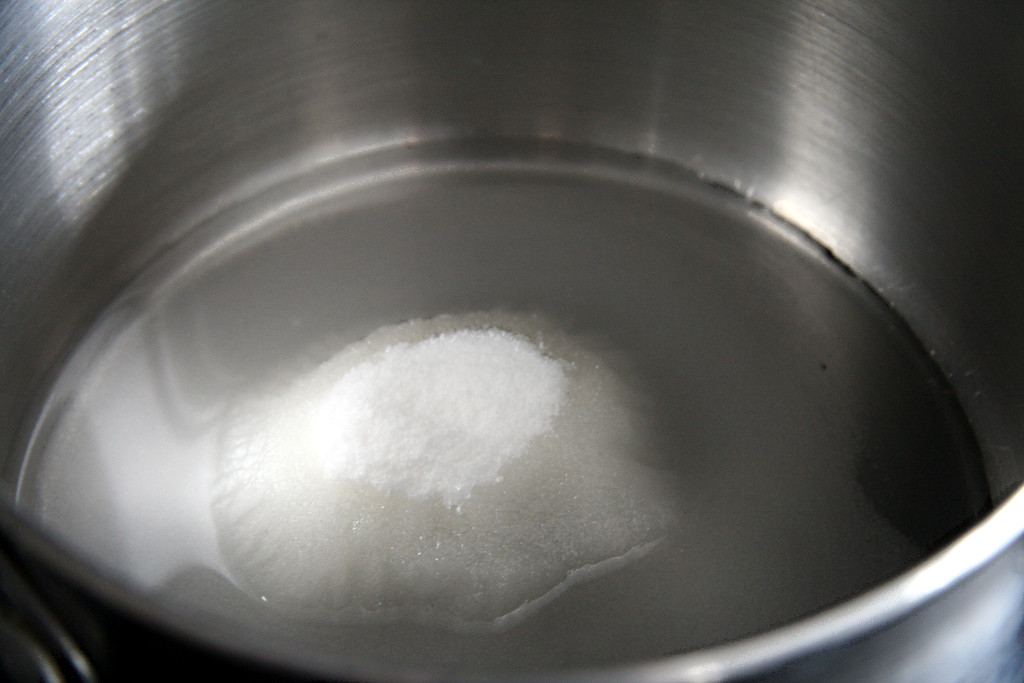
1. Bring sugar and water to a boil in a
small pot.
2. Heat the sugar to 250F(120C). If it boils clean the
sides of the pan with a damp pastry brush. Try not to continually mix
the solution. Allow it to heat on its own.
3. In another bowl or
the bowl of your Kitchen Aid whisk the eggs and egg yolks until it
lightens in colour.
4. Once the hot sugar mixture reaches 250F
pour immediately into the whisking egg mixture. You may find turning
down the whisking speed temporarily will help prevent hot sugar
threads from flying everywhere. However, it is imperative to pour the
hot sugar mixture in quickly and then increase to a higher whisking
speed.
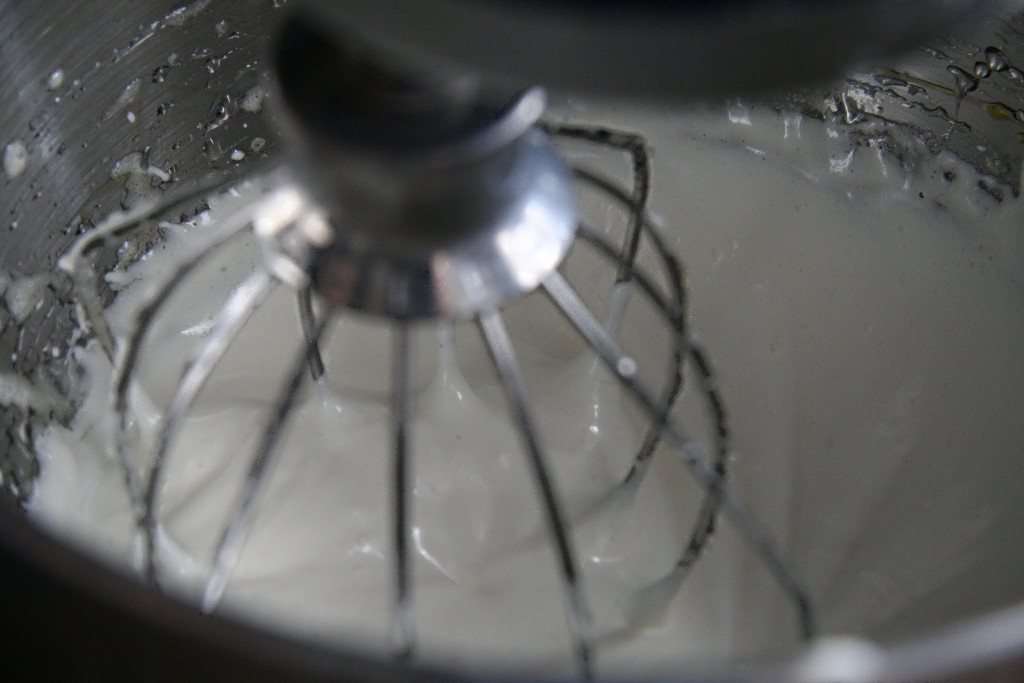
5. Continue whisking until the mixture has cooled down
completely. It will start to look like a meringue and be glossy.
6. Meanwhile, cream then whisk the butter until it has
thickened.
7. Once the egg mixture-meringue has cooled, add the
butter.
8. Continue whisking until the butter cream is smooth. It
may curdle slightly but this is okay. Keep whisking and the butter
cream will come back together.
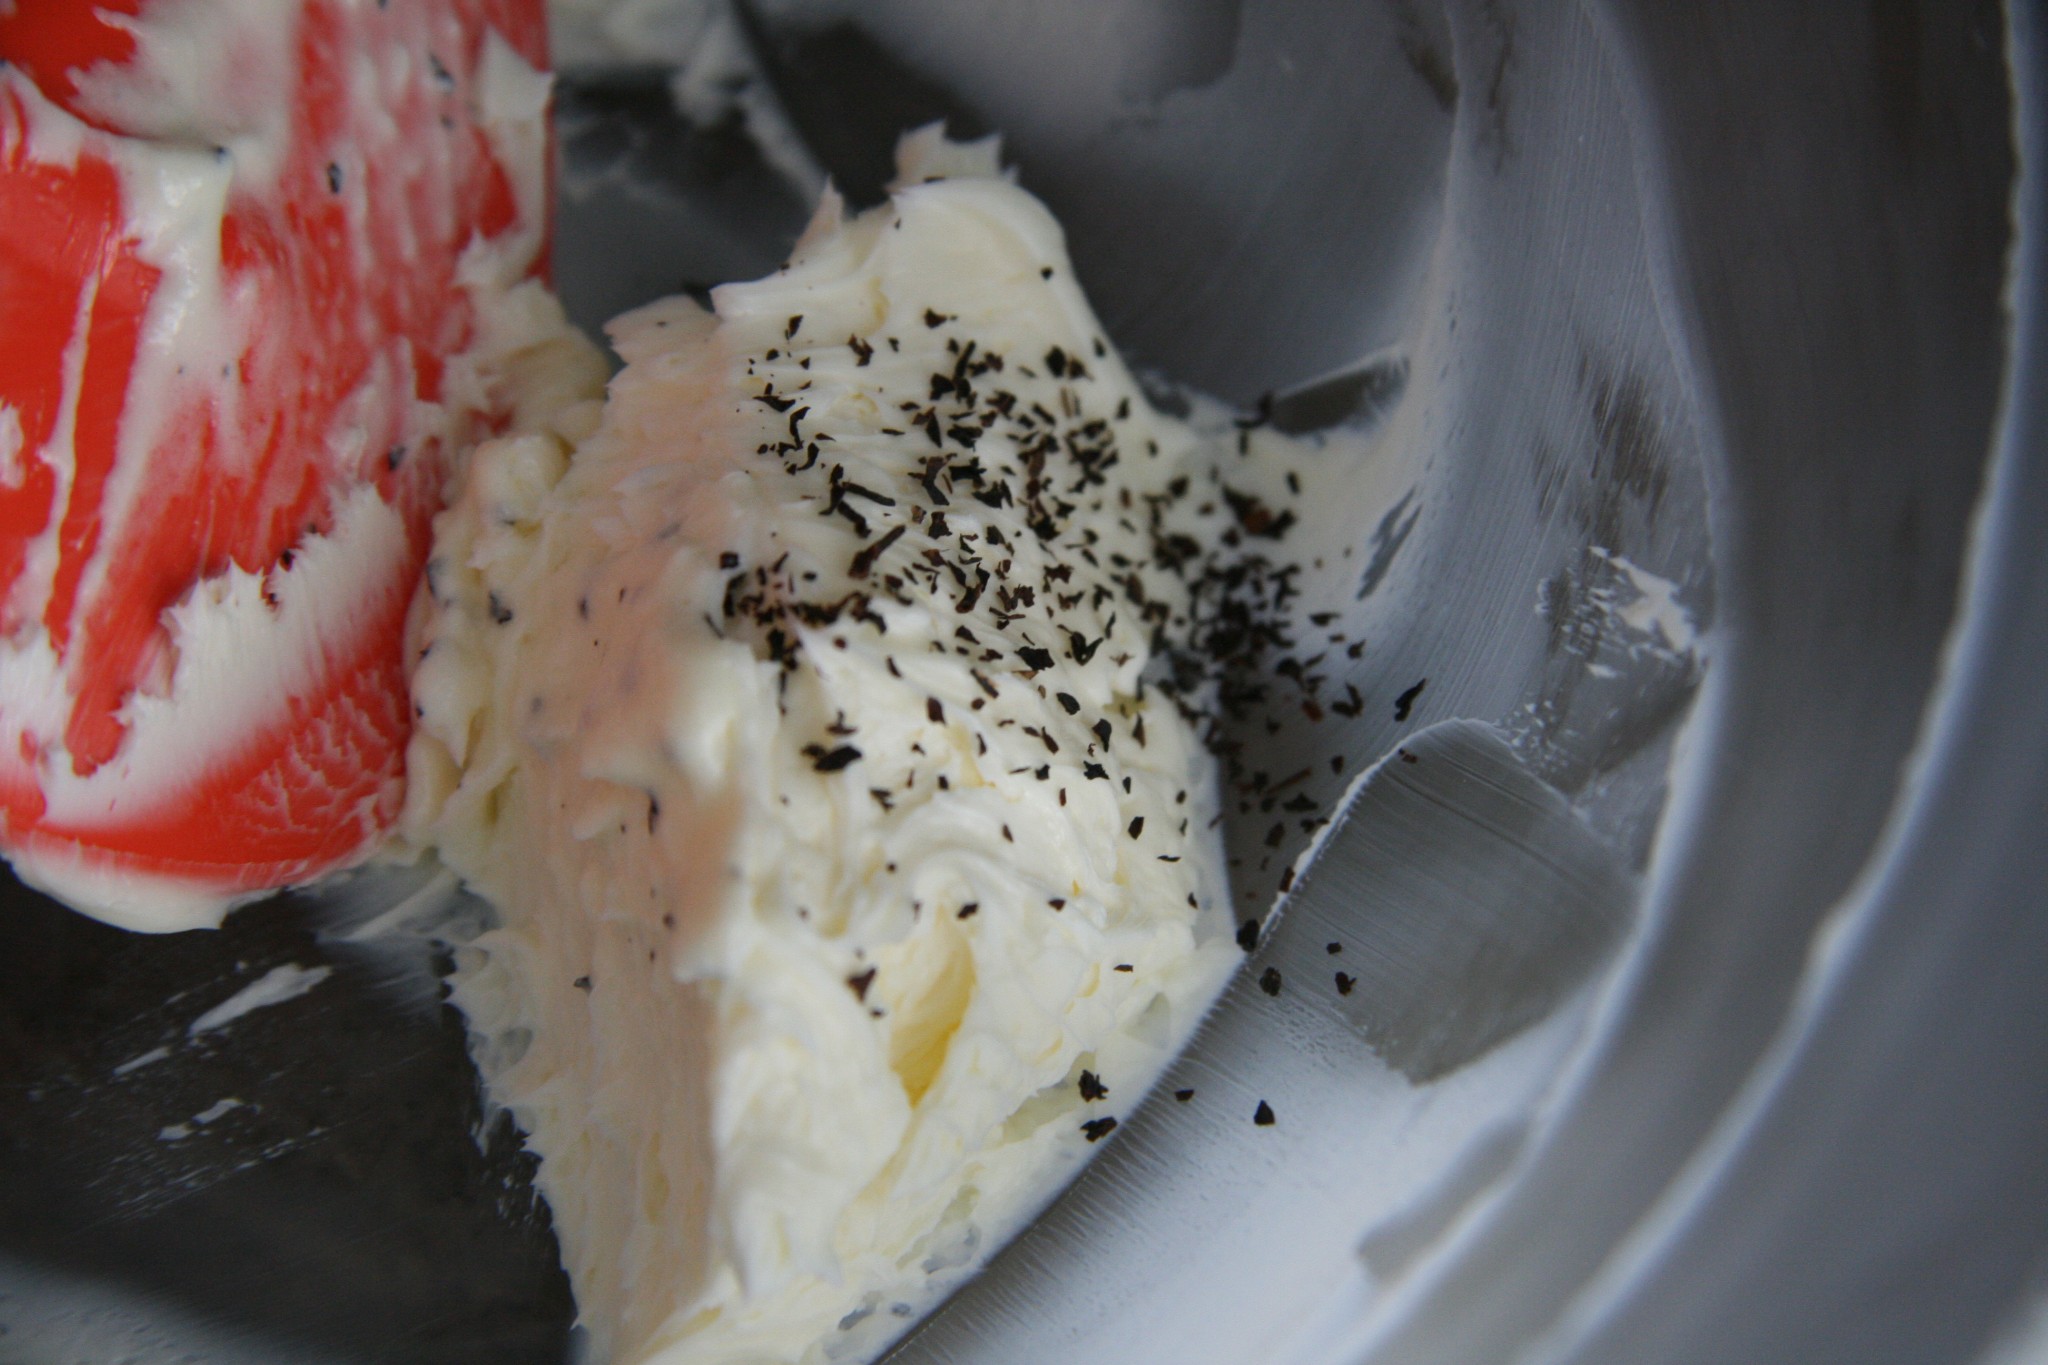
9. Cut open the tea bag and
sprinkle into the buttercream and whisk until smooth.
10. Immediately
transfer butter cream into a piping bag fitted with a nozzle and pipe
away.
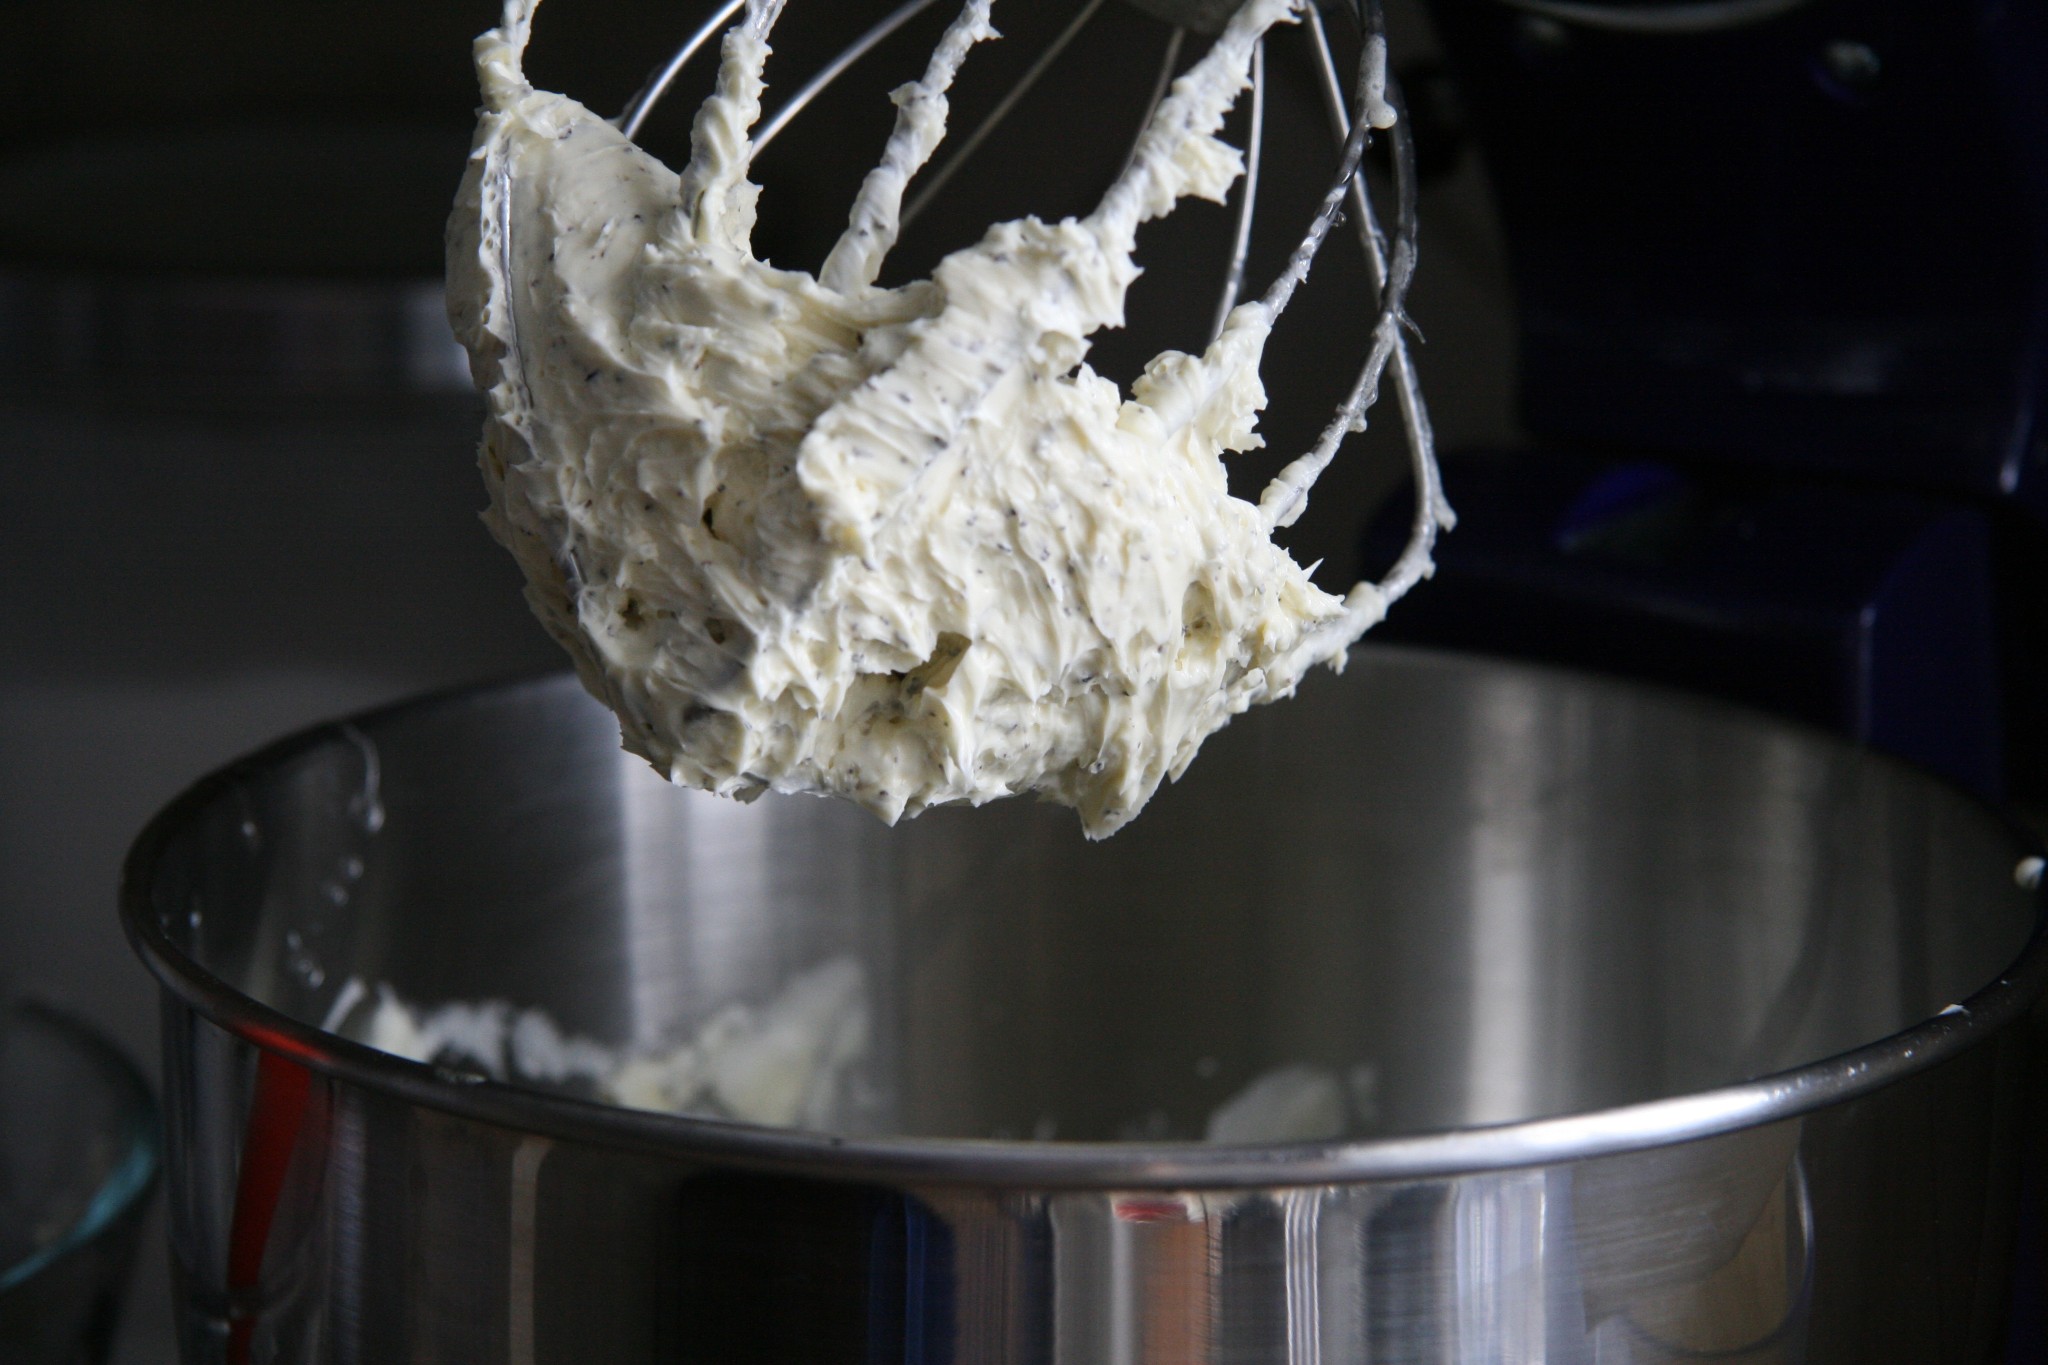
11. Pipe a small mound of butter cream onto each half
shell.
12. Top with the matching shell to finish the macaron.
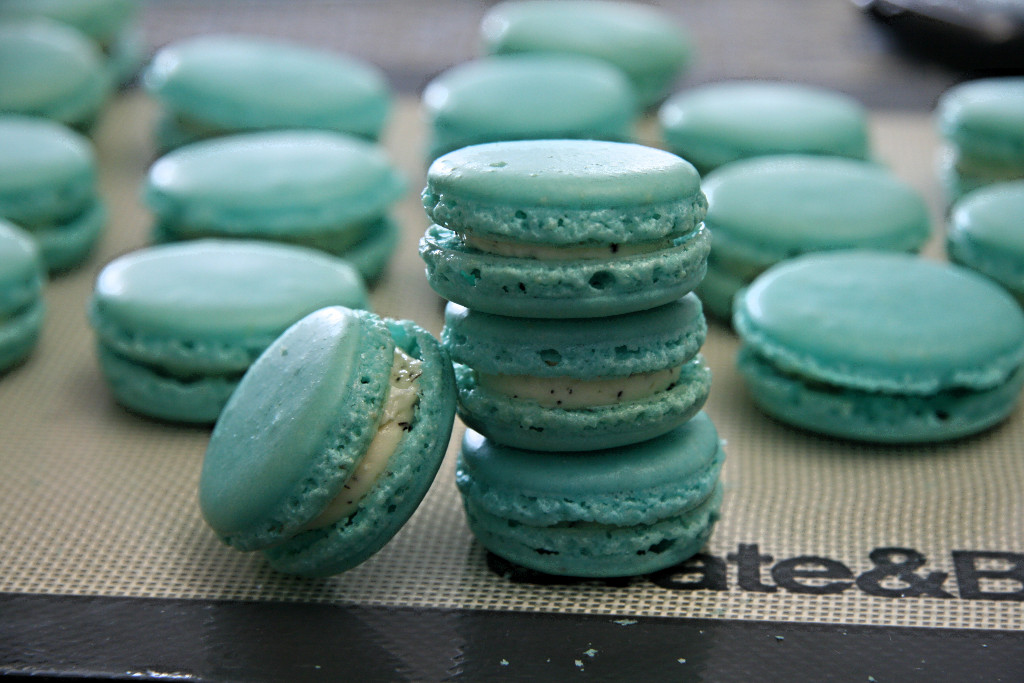
Once you are done matching and topping shells, resist the
temptation to eat them! Macarons should be stored in the fridge in a
covered container for 2 days to reach its optimal flavour and
texture. When you are ready to eat them, take out of the fridge two
hours before eating. If you are making an entire batch for a special
event or can’t finish all of them (like me) freeze you macarons in a
covered container. Prior to eating defrost in a covered container for
2-3 hours in room temperature.
These macarons taste quite
delicious. As you take a bite of the macaron, it is similar to taking
a sip of Earl Grey tea. Pairing these macarons with Earl Grey Tea on
a sunny afternoon would be perfect! Alternatively, bring them out to
eat at a picnic, for dessert or even a small afternoon snack.
If you happen to be in the Edmonton or surrounding area and want to actually purchase these macarons, I do sell them! Go check out my macaron purchasing page for details!